
How to Descale Keurig: Step-by-Step Guide
Are you looking for the best way to descale your Keurig® Coffee Machine?
To keep your Keurig® Coffee machine running like new, clean out hard water buildup most frequently. Spend a few minutes to preserve your Coffee machine and extend its life to make your coffee taste better than ever.
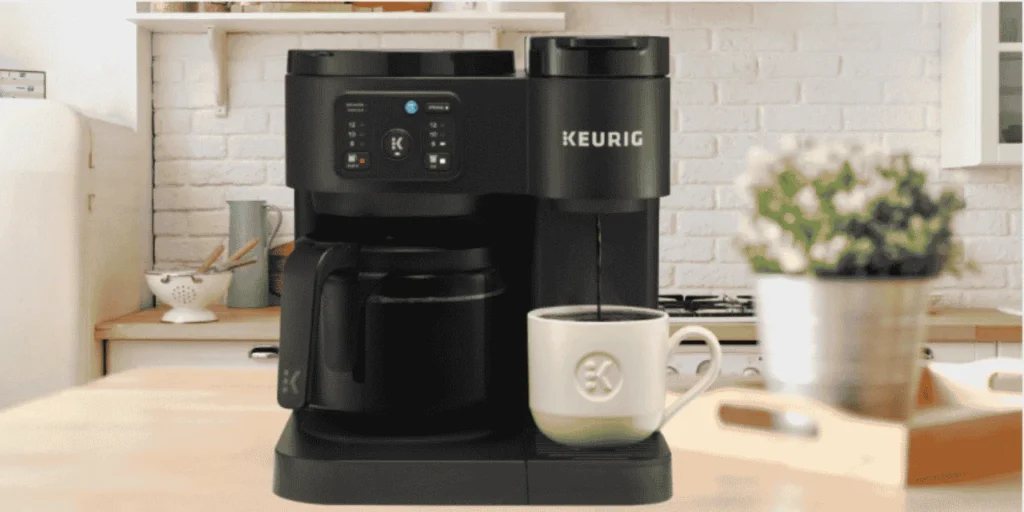
All coffee machines, including Keurig® machines, build up hard calcium deposits over time. Descaling is the process used on your machine to remove these deposits, which helps the coffee achieve proper extraction and improves its flavor and temperature. It’s important to keep the Keurig® machine running like brand new to maintain good, tasty flavor and temperature for a good coffee experience.
How often does Descale need to be done?
We generally recommend descaling your Keurig® coffee maker regularly, about every 3 Months or when the Descale notification turns on. Follow the descaling procedure carefully to turn off the notification. Descaling depends on the mineral content in your regular water. We recommend using filtered or bottled water for everyday brewing.
Regularly descaling your brewer every 3 months helps to maintain the heating element and other internal parts that come into contact with water. If calcium deposits build up faster, it’s necessary to descale more often.
Before you start, you will need the following:
Note: Make sure that there is no beverage pod in the k-Cup® pod holder. Allow approximately 15-20 minutes for the descaling procedure.
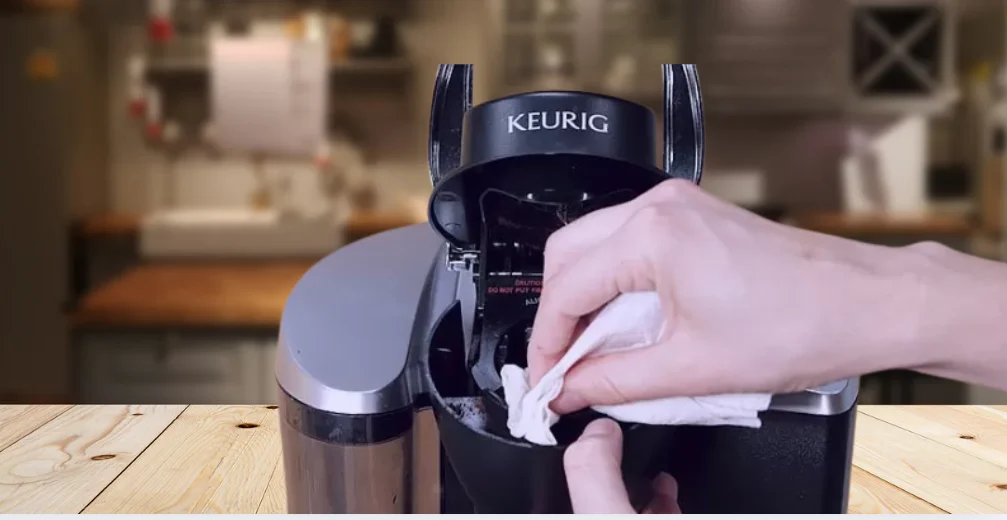
Descale Instructions for Brewer Model: MINI Plus B31
To descale the Brewer Mini Plus B31, you need to follow the Steps:
STEP 1: Fill, Clean, and Rinse
STEP 2: Vinegar Rinse
STEP 3: Fresh Water Rinse
Note: If De-Scale is still displayed after completing the procedure, repeat the 3rd step Fresh Water Rinse.
Descale Instructions for Brewer Model: Elite B40, Classic B44, Special Edition B60, Platinum B70
To start, you will need the following:
Before beginning, prepare:
STEP 1: Fill and Clean
STEP 2: Rinse
Note: If De-Scale is still displayed after completing the procedure, repeat the 2nd step, Rinse.
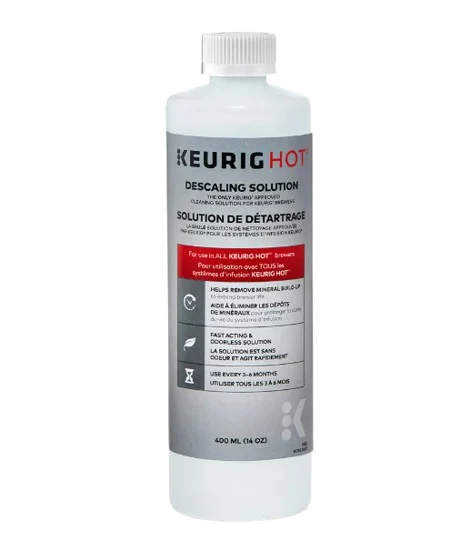
How to Descale Keurig with Descaling Solution
To start, you will need the following:
STEP 1: First Descaling Solution Rinse
STEP 2: Second Descaling Solution Rinse
STEP 3: Fresh Water Rinse
Note: The Cleaning action of Keurig Descaling solution may result in a “Foam.” This is natural, as the solution is reacting with the scale inside,
- Turn off and unplug the brewer.
- If you find a descaling solution in the water Reservoir, discard the contents, rinse the water Reservoir, and refill with water.
- Plug the brewer back in, power on, and repeat the step 3: Fresh water Rinse.
- If the problem persists, allow the brewer to sit unplugged for at least 30 minutes before continuing with the rinse.
Best Keurig Coffee Makers 2026
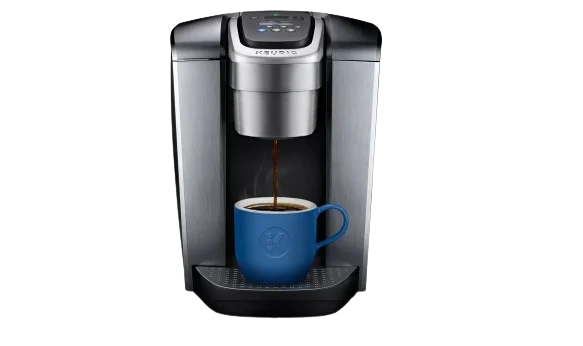
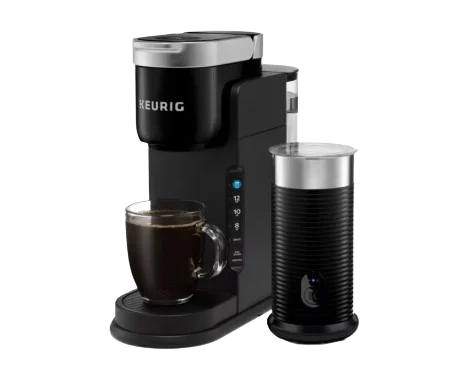
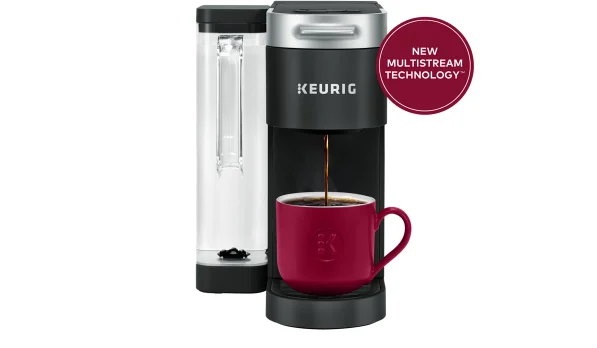
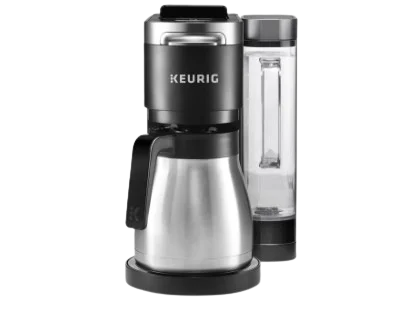
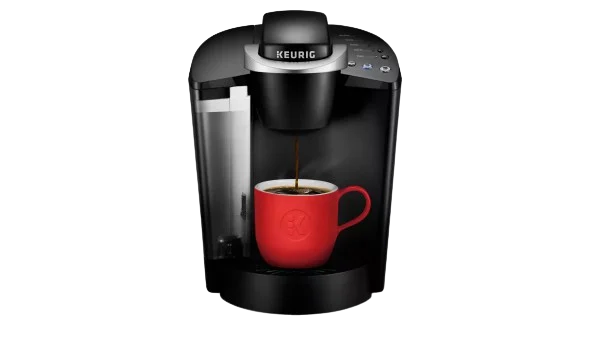
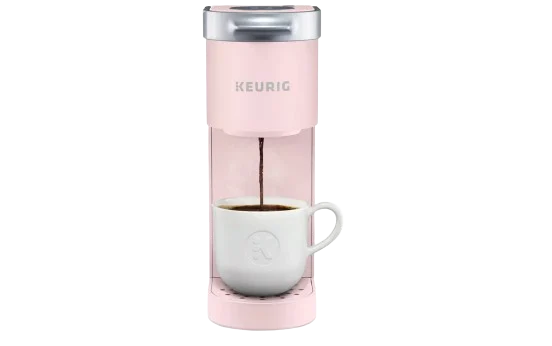
Keurig Use and Care Guide
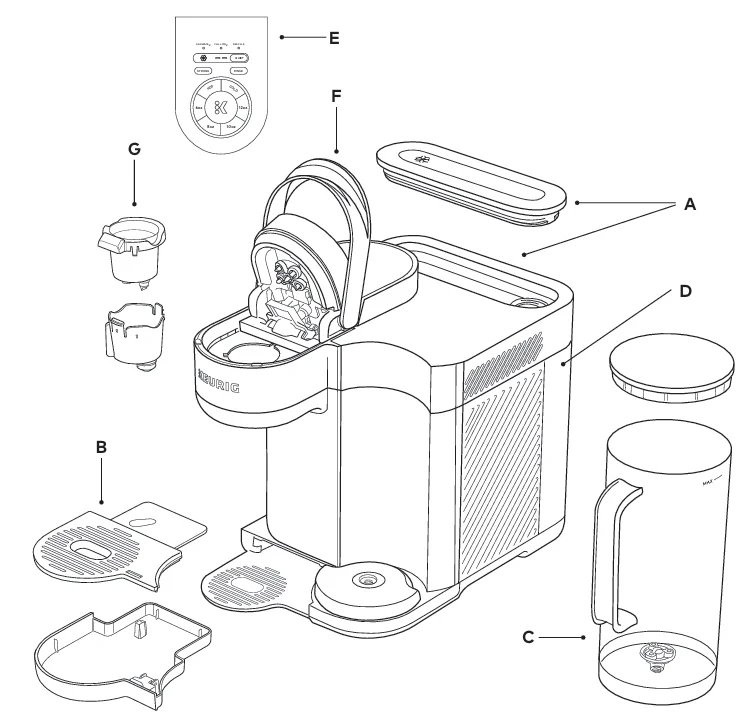
- A. Chill Tank & Lid
- QuickChill Technology.
- Flash-Chills Your Beverage.
- B. Drip Tray
- Catches any residual liquid from the brew cycle and cold auto Rinse cycle.
- C. Water Reservoir & Lid
- 70oz water reservoir for multiple brews.
- D. Venting System
- Two fan speeds optimized for kitchen environment and performance.
- E. Control Panel
- Control your k-brew+chill experience.
- F. Brewer Handle
- Insert your K-Cup pod and Customize your brew.
- G. K-Cup Pod Holder & Filter
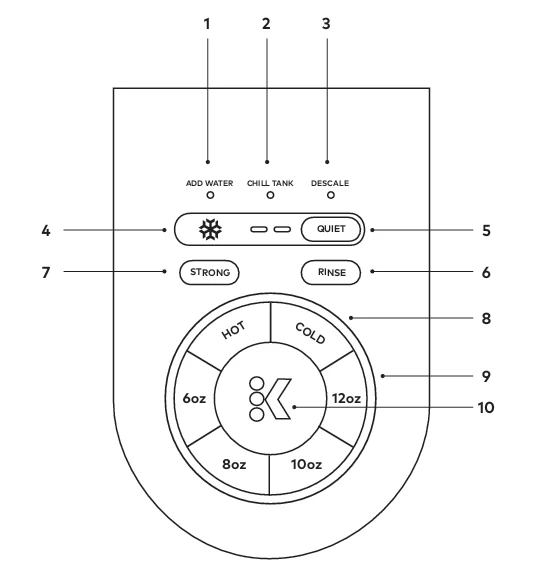
- 1. Add Water
- 2. Chill Tank
- Illuminates when to fill the chill tank.
- 3. Descale
- 4. Cold Charging Bar
- Helps to provide an update on cooling status.
- 5. Quiet
- Toggles the Chill Tank fan through High Performance.
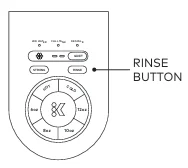
- 6. Rinse
- 12oz rinse (Hot or Cold)
- 7. Strong
- For a bolder, more intense cup.
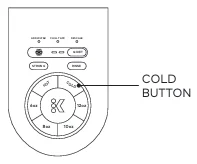
- 8. Hot or Cold
- Select your desired setting.
- 9. Brew Sizes
- 6,8,10 and 12oz
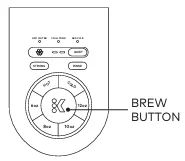
- 10. Brew Button
- To indicate when the brew is completed.
- 11. Power On
- Lift the brewer handle.
- 12. Power Off
- Press and hold the HOT or COLD Button.
Fill the Chill Tank
The Chill tank is the cooling engine of the Keurig machine. K-Cup Pod is brewed hot and then cooled using Quick-Chill Technology.
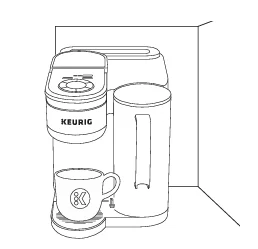
- Remove and Discard if any packaging Stickers and materials found. Place Your Brew where you intend to use it.
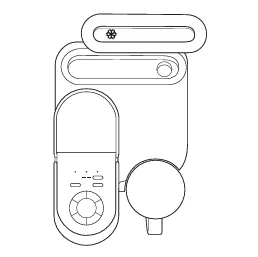
- Plug the Coffee Maker in. Remove the Chill Tank lid and locate the max fill tab.
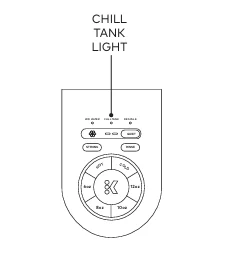
- Fill the tank with cool tap water. The Chill tank requires 11.5 cups of water. Pour slowly until it reaches the Max Fill tab.
Chill Tank Tips:
Before You Brew Coffee
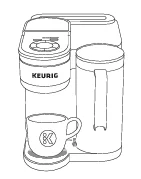
- Fill the water reservoir: Fill the Water to the max fill line. Install a Keurig Water Filter if you have one.
- Place a 12oz mug on the drip tray.
Note: Use clean water; do not use distilled water.
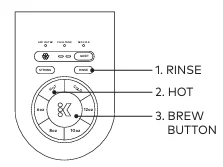
How to Brew Your First Cup: Hot Coffee
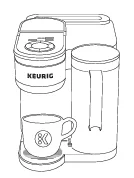
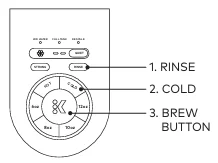
How to Brew Your First Cup: Cold Coffee
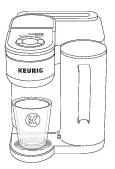
Cold Auto Rinse Cycle
Keep Your Quick Chill Machine running at top performance.
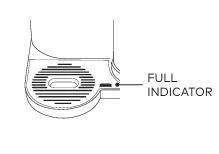
Cold Charging Bar LED Lights: Guide
Two LED lights will indicate the chill tank charging status. Once fully charged, you can brew 4 beverages. When fully charged, you will get the coldest beverage:




Tips to Check Charging Status
Best Brewer Features

Multi-stream Technology: Soaked the grounds evenly to extract full flavor and aroma in each cup, Hot and Cold.

Quick Chill Technology: Cools coffee to an iced temperature in less than 3 minutes.

Cold Charging Bar: Gives you the status of Chill Tank, Low, Medium, High, or Fully Charged. So you know when your brewer is ready.

Brews HOT and COLD: Scrumptiously hot and refreshingly chilled iced coffee.

Quiet Mode and Pause: Allow you to control the chilling speed of the brewer between High performance, Quiet, and off modes. Press and hold Quiet to sleep all cooling capabilities for 6 hours.

Strong Brew: Helps to make a bolder, more intense cup.

Rinse: A Manual Descaling or cleaning cycle. Designed to ensure your beverages taste great all the time on every brew.

Power Off: To power on your brewer. Press any button or lift the brewer handle. The brewer will automatically turn off after 5 minutes. Also, press and hold the HOT or COLD button to turn the brewer off.
How to Enable High Altitude Brewing Mode
To ensure your brewer works properly at a higher altitude (5,000 feet), you need to enable the high-Altitude Brewing mode:
- Make sure the brewer is plugged in and powered off.
- Press and hold the K button and 8oz button for at least 3 seconds.
- The Cold Charging bar lights will flash twice to confirm that the High Altitude Mode has been enabled and is ready to use.
Note: The High Altitude Mode will remain enabled until 1-2 steps are repeated; the cold charging bar lights flash twice to confirm that the High Altitude Brewing mode is now disabled.
Caring For Your brewer
Keep your brewer running at peak performance by following the recommended maintenance schedule: (For Great-Tasting)
| Frequency | Keurig Product | Keurig Benefit |
| Weekly | Rinse Pods | Weekly cleaning with Rinse pods helps reduce flavor carryover between brews |
| Every 2 months | Water Filters | Keep Water Fresh and Help Remove Impurities |
| Every 3 Months or when the Descale Notification turns on. | Descaling Solution | The descaling method: eliminates mineral buildup to enhance the taste of every coffee and preserve the long-term performance of your coffee Maker. |
- Storage: Before storage, Empty the water tank. If the brewer has been in storage for 2 days, run a Rinse before brewing your beverage.
- Chill Tank: You need to add water to the Chill Tank once per year, and you will be alerted by the CHILL TANK LED.
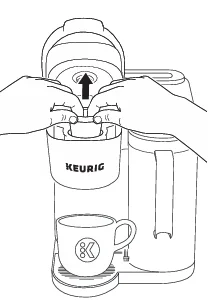
To remove the K-Cup Pod holder:
- lift the handle and grasp the front of the K-Cup Pod holder with two hands.
- Now pull with two hands until it releases.
- Clean the K-Cup Pod holder
- Use the two front ribs as a guide and snap into place from the top.
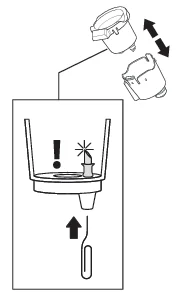
Exit Needle
- Remove the Pod holder assembly
- Locate the silicone valve that sits under the existing needle on the inside bottom of the K-Cup Pod holder.
- Now insert a straightened, strong paper clip into the duckbill to loosen any coffee grounds.
- Rinse with water.
Troubleshooting
Does not have power or shuts off automatically
- If the electric circuit is overloaded with other appliances, the brewer may not function.
- Plug the brewer into its own grounded outlet.
- The brewer should be running on its own circuit.
- Separate from other appliances.
- Brewer will automatically turn off 5 minutes after the last brew.
- The Chill tank will continue functioning unless turned off.
- If the brewer still does not have power, Contact Customer Service helpline.
Brewer Will Not Brew
- Add water to the water reservoir if you see the Add Water Warning notification.
- 60oz of water is required to brew.
- Add some water and make sure the minimum fill level is met.
- Make sure the water reservoir is seated properly in its base.
- If the Add Water Warning Notification persists even after refilling, (Contact Customer Service)
Brewing a Partial Cup
- The exit needle may be clogged.
- Refer to the exit needle care instructions.
- Clean the K-Cup pod holder
- Descale the brewer.
- If you have repeated the descale procedure two (2) times and it is still brewing a partial cup, (Contact Customer Service)
Grounds in Your Coffee
- Grounds may have gathered in the entrance needles or the pod holder. Can be cleaned using a similar tool or straightened paper clip.
- Clean the exit needle of the K-Cup Pod holder.
- For optimal enjoyment and to limit grounds in cup during hot water brews or transitioning from brewing a coffee pod to a non-coffee pod (e.g., cocoa or tea), Clean the exit and entrance needles twice.
Excessive Grounds in the K-Cup Pod
- Do not use punctured pods. That may result in grounds escaping through punctured holes in the lid.
Beverage Isn’t Brewing Cold
- Cold Charging Bar lights are blinking: Ensure that they are both solid to get the coldest beverage.
- Cold Charging Bar Lights are not illuminated: Ensure you are not in off mode by cycling the QUIET button.
- Make Sure Brewer Chill Tank is filled with water to the top max fill line.
- Make sure Chill Tank lights are not illuminated.
- Still, you have a problem (Contact Customer Service)
Contact Customer Service
Still have Questions?
We are here to help. Check support.keurig.com for a step-by-step Guide on cleaning, descaling, and more…
Need Help?
Give us a call at: 1-866-901-BREW (2739).